Are you tired of buying expensive herbs from the grocery store? Do you want to add a unique flavor to your dishes without breaking the bank? Look no further than Ajwain!
This versatile herb, also known as carom seeds, is easy to grow at home and can elevate any dish with its distinct aroma and taste.
In this quick guide for beginners, we’ll show you just how to grow ajwain at home.
Get ready to impress your friends and family with a new herb!
Table of Contents
Growing Conditions
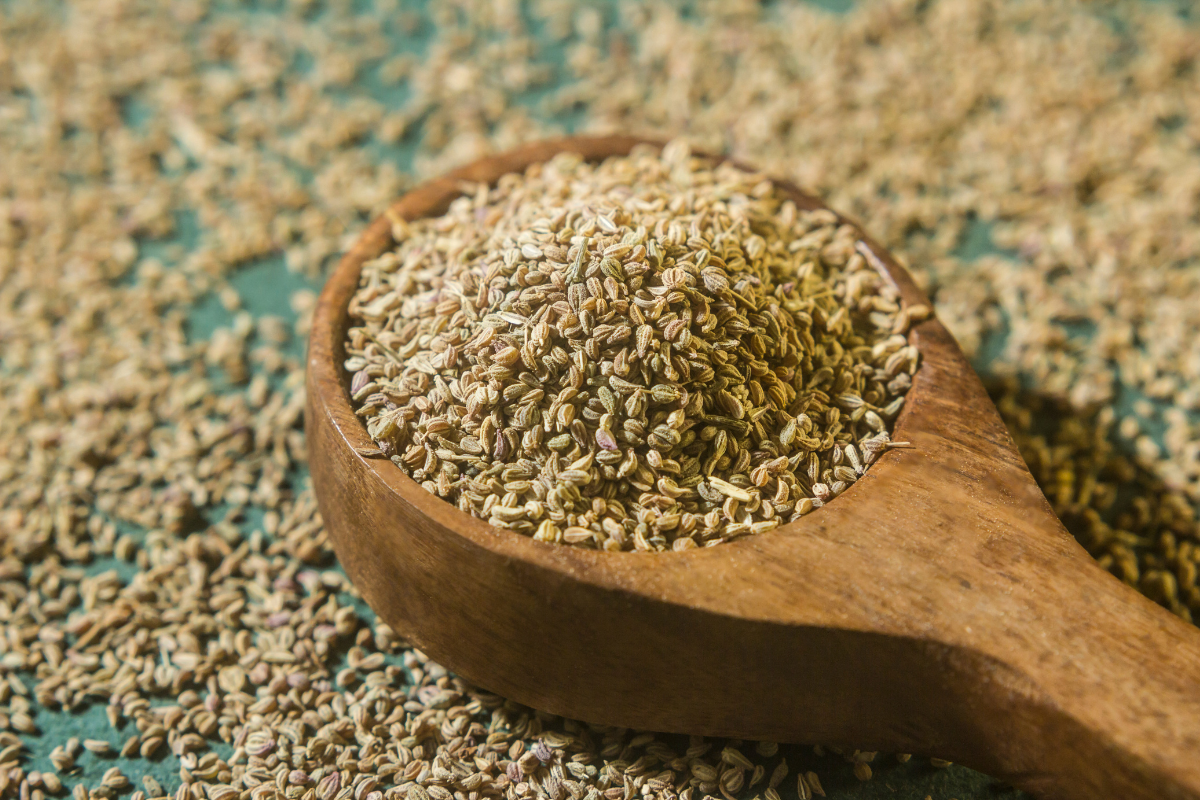
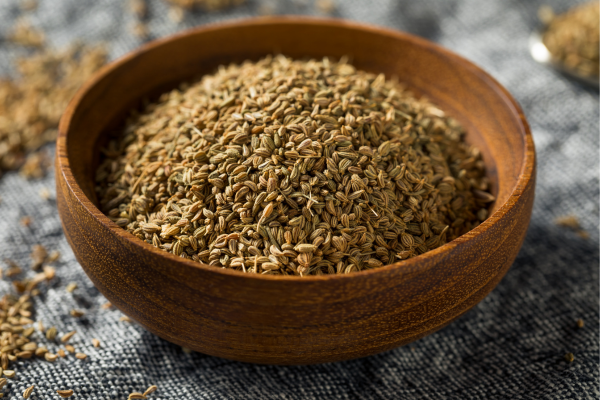
Ajwain, also known as carom seeds is native to India and Pakistan and has a long history of use in Ayurvedic medicine.
The seeds are used as a spice and have a strong, pungent flavor.
Ajwain prefers a hot climate and grows best in full sun. But it can also be grown indoors or in any climatic conditions provided you take proper care of it.
It can be grown in partial shade, and if the plant shows signs of not enough lighting then you can use grow lights to promote their growth.
The soil should be well-drained and sandy loam is ideal. Ajwain does not tolerate wet feet, so make sure the planting site has good drainage.
Preparing the Soil
When it comes to planting ajwain, preparing the soil is essential for ensuring that your plants grow healthy.
Luckily, preparing the soil for planting ajwain is relatively easy and can be done with just a few simple steps.
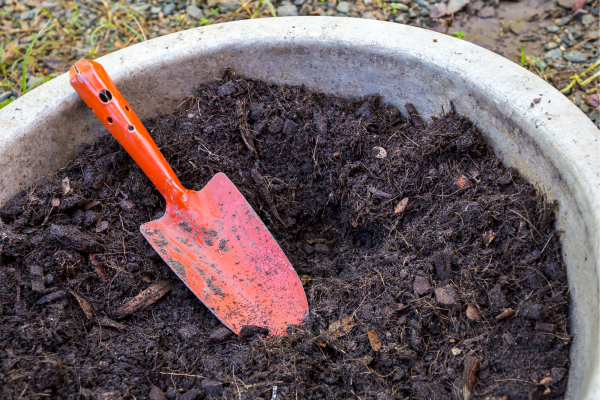
- Garden soil – Ajwain doesn’t require too much care or custom-tailored soil requirements. It grows well in the normal gardening soil or the potting mix that you get from stores. Don’t use any random soil and make some effort to buy a good potting mix for your ajwain.
- Well-drained – Make sure that the soil you’re using is well-draining. Ajwain does not like to have its roots sitting in waterlogged soil, so well-drained soil is necessary to prevent root rot. If your soil is heavy and clay-like, you may need to amend it with some sand or organic matter to improve drainage.
- Organic Matter – Add some organic matter to your soil. This can be in the form of compost, manure, or even just some fallen leaves from your yard. Adding organic matter helps to improve the overall quality of the soil and provides nutrients that ajwain plants need to grow.
Now our soil is ready let us proceed to the next step.
Choosing the Right Seeds
If you want to grow ajwain at home, it is important to choose the right seeds.
There are two types of ajwain seeds – black and white. Black ajwain seeds are more commonly used in cooking, while white ajwain seeds are used for medicinal purposes.
Both have the same steps for growing, so no matter which seed you choose you can follow this guide for both of them.
Seeds don’t require any special treatment, the seeds you buy from the grocery store can be pretty much used without any pre-preparation steps like soaking or drying.
After buying the seeds it is important to store them properly. Store them in an airtight container in a cool, dry place.
Let’s proceed with the planting process
Planting Ajwain
Ajwain is a hardy plant that can tolerate some neglect, so it’s perfect for busy gardeners or those new to gardening. Here is a step by step instructions on how to grow it
- Take the Ajwain seeds and some well-draining potting/gardening soil.
- In a plastic tray add a good amount of gardening soil do not fill the tray to the edge, leave about an inch or two of space from the top of the tray.
- Spray water to the soil and keep it moist. Sprinkle the ajwain seeds all over the soil. Cover it with a layer of gardening soil over the seeds.
- Sprinkle a little more water gently on the newly added layer of soil. Now keep the tray in a shady area till the seeds start to germinate.
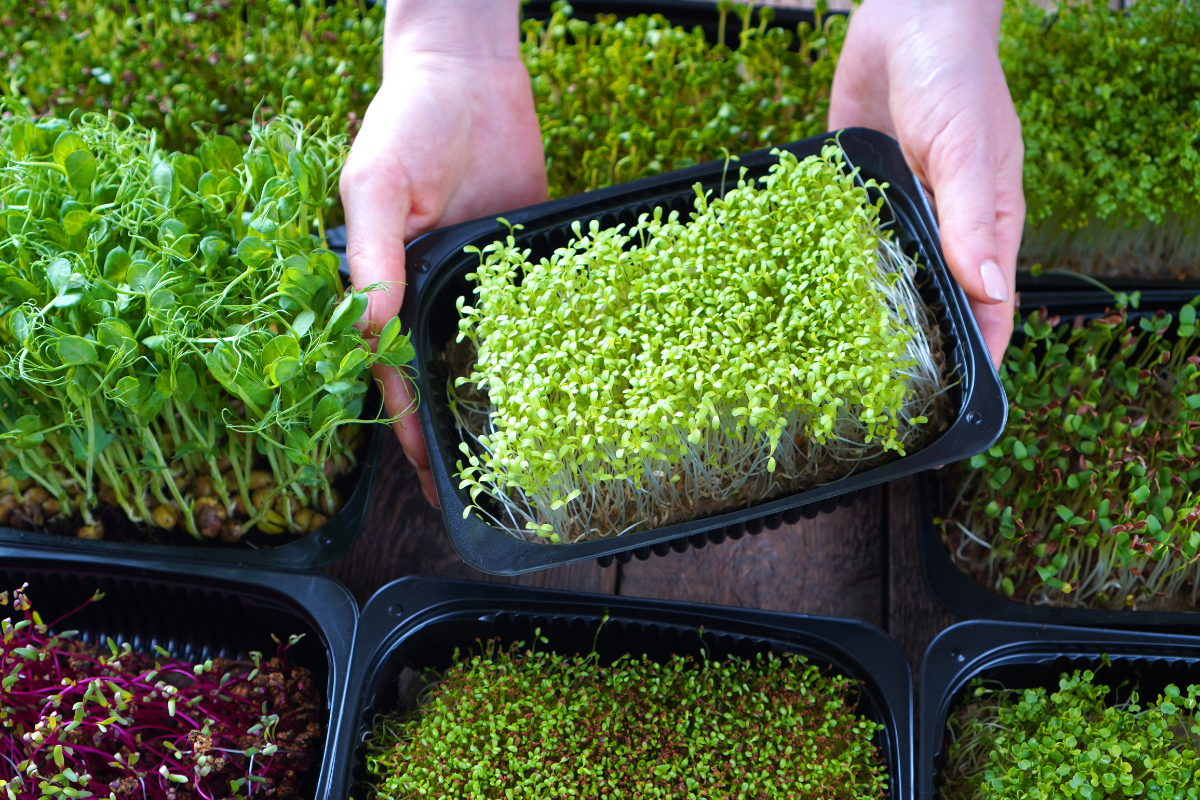
- In about a week, the seeds will germinate. Now move the plant to an area with warm and indirect lighting like a window or other similar places.
- Ajwain requires regular watering but be careful not to overwater. When the soil becomes dry, sprinkle water to good enough to make the soil moist.
- The water should penetrate the bottom layer of the soil to provide the roots with the necessary water.
- Ajwain is susceptible to powdery mildew, so water early in the day so that the leaves have time to dry before nightfall.
- You can fertilize monthly with a balanced organic or natural fertilizer during the growing season when new plants emerge.
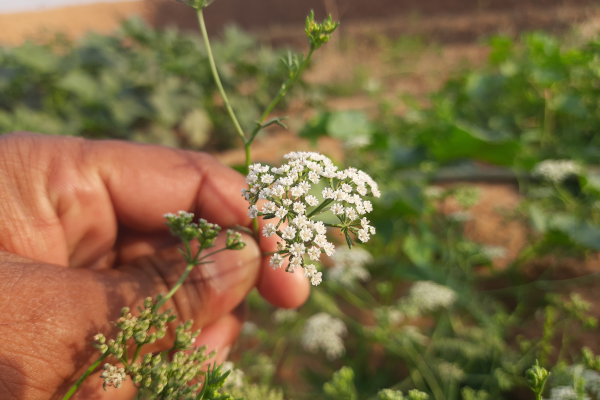
In a month or two you will notice beautiful, luscious green plants bushing out with white flowers and a bunch of ajwain seeds in their heads. Now it is time to harvest the plant.
Harvesting Process
Ajwain is an annual herb, so it will die back in winter and regrow in spring.
To harvest the seeds, cut the flower heads off the plant when they turn brown and dry.
Place the heads in a paper bag and let them dry completely.
Then, rub the heads gently between your hands to release the seeds.
Store the seeds in an airtight container in a cool, dark place.
Common Problems and Solutions
Here are some of the most common problems and solutions for growing Ajwain:
i) Not enough light
Ajwain needs at least 6 hours of warm indirect lighting per day, so make sure it’s getting plenty of light. If it’s not, try moving it to a sunnier spot.
ii) Not enough water
Ajwain needs to be kept moist at all times, so make sure you’re watering it regularly. If the soil is allowed to dry out, the plant will wilt and eventually die.
iii) Overwatering
Don’t let the plant sit in water make sure the drainage is good and that the plant isn’t sitting in a puddle of water. too much water can cause root rot, which will kill the plant.
Conclusion
Growing Ajwain at home doesn’t have to be complicated if you take the time and effort to learn the basics.
Ajwain is a wonderful herb that can add flavor and nutrients to your dishes, so it’s worth taking some extra time to familiarize yourself with its cultivation requirements.
With our step-by-step guide, we hope you can confidently start growing this amazing herb in your garden or on your windowsill!