Are you tired of waiting for the perfect time to plant spinach seeds in your backyard garden? Or perhaps you don’t have a garden at all. No need to worry!
With this ultimate guide, we’ll show you how to grow spinach indoors without seeds.
Whether you’re an experienced gardener or just starting out, this post has something for everyone. Get ready to become a master indoor spinach grower!
Table of Contents
Growing spinach indoors without seeds may seem like a daunting task, but it is actually quite simple. All you need is a pot, some soil, and a little bit of patience.
Spinach is a cool-weather crop, so it can be started indoors in late winter or early spring. If you live in a warm climate, you can also start it in the fall.
What You Need for an Indoor Spinach Growing Setup
In order to grow spinach indoors without seeds, you will need the following:
- A pot or container that is at least 6 inches deep and has drainage holes.
- Potting mix or seed starting mix
- Fertilizer
- Water
- Spinach leaves with roots
Once you have gathered all of the necessary materials, you can begin setting up your indoor spinach growing setup.
Step-by-Step Guide on How to Grow Spinach Indoors Without Seeds
Step 1 – To get started, you’ll need a pot or container that is at least 6 inches deep and has drainage holes.
Step 2 – Fill your pot with a high-quality potting mix and water it well. Choose quality potting soil. A good potting mix will provide the nutrients your plants need to thrive indoors.
Step 3 – Take a spinach plant with roots in it (you can buy some from the market ).
Step 4 – Cut the top portion of a bunch of spinach and now sow just the root part of them in the soil
Step 5 – Water the soil make sure the soil has a facility for water drainage. Keep the plant near sunlight not direct but indirect sunlight.
Step 6 – Provide it with the required water that keeps the soil moist and add fertilizers once a week.
Step 7 – After 10 to 20 days you will get amazingly leaves flourishing out of it
Spinach does best in deep, well-draining pots or planters. If you’re using plastic pots, be sure to punch holes in the bottom for drainage.
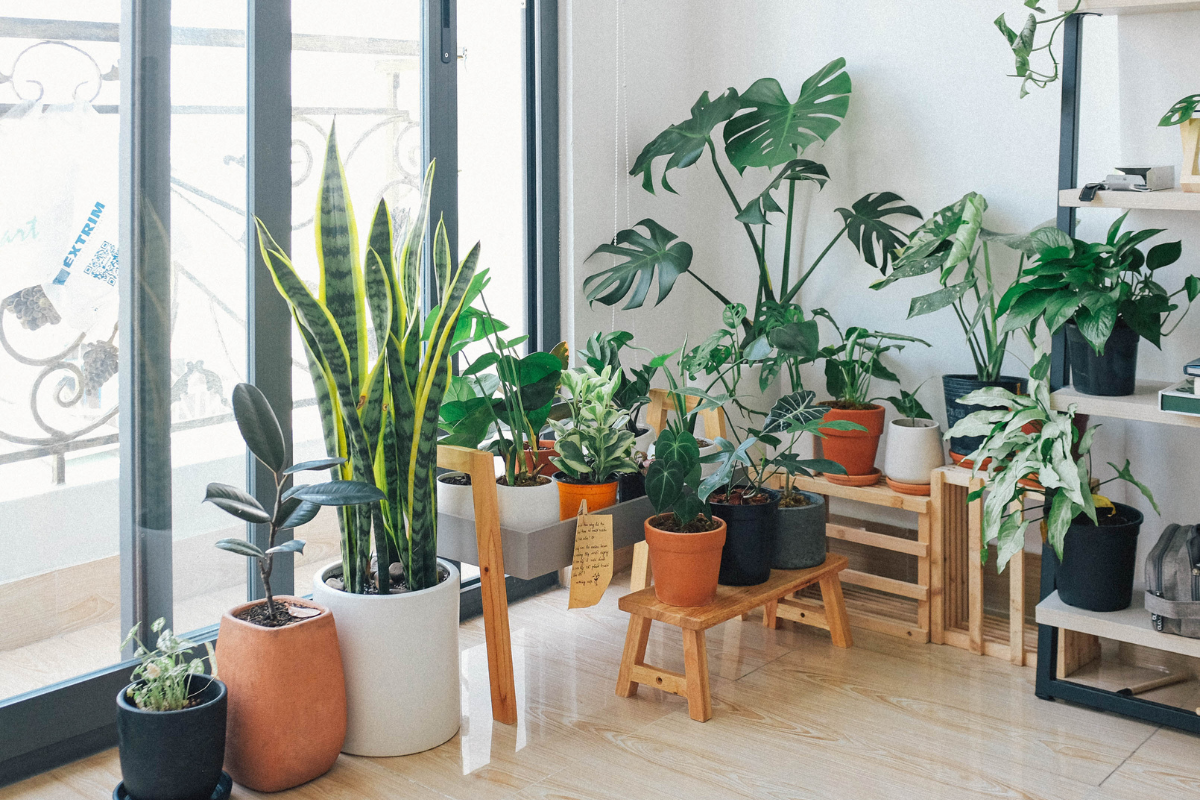
You’ll also need to provide adequate ventilation for your plants by placing them near an open window
Harvesting Spinach
Now that your plant is settled in, it’s time to start harvesting!
Spinach is ready to harvest when the leaves are big enough to eat. You can begin harvesting the leaves by cutting them off at the base of the plant.
Be sure to leave at least 2 inches of growth so that the plant can continue to produce new leaves.
Cut the leaves off at the base of the plant, being careful not to damage the stem.
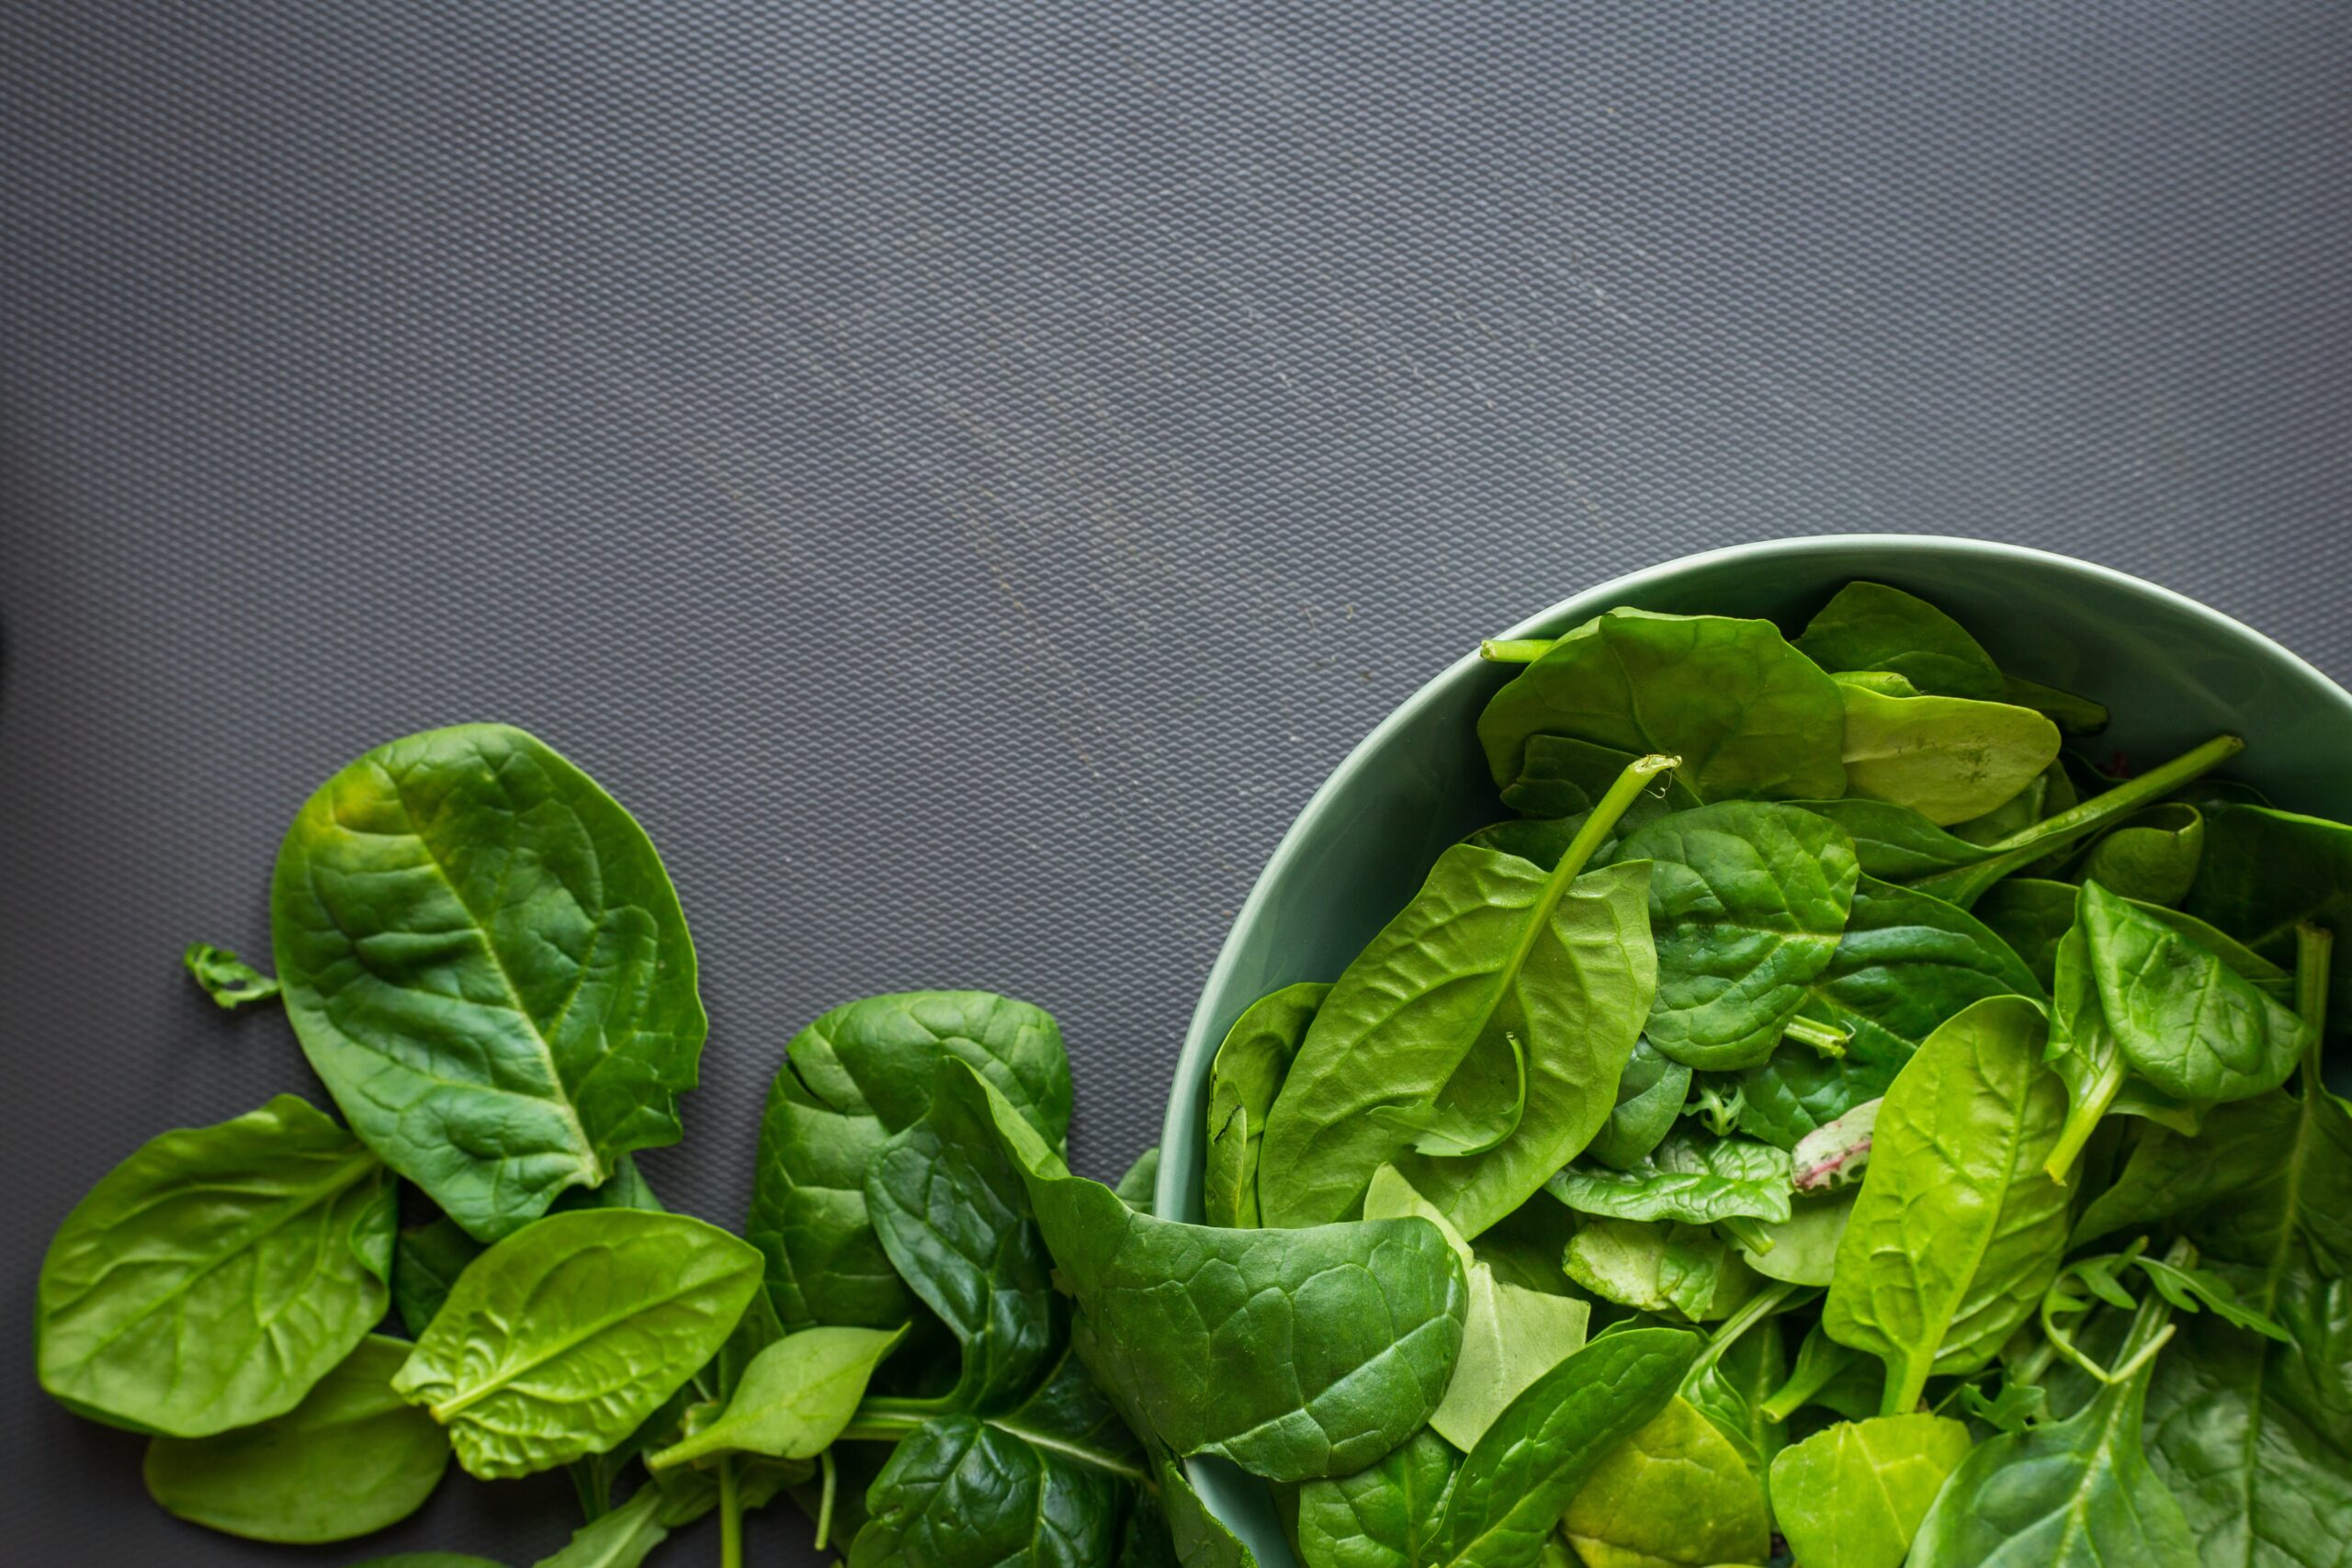
Enjoy your fresh, homegrown spinach leaves raw in salads or cooked in your favorite recipes!
Troubleshooting Common Problems When Growing Spinach Indoors
If you’re having trouble growing spinach indoors, don’t worry you’re not alone. Many people have difficulty getting their spinach keeping it alive once it’s grown.
But with a little troubleshooting, you can overcome these common problems and enjoy a bountiful crop of indoor spinach.
i) Insufficient light
Once your spinach plants have grown, another common problem is that they quickly become leggy and weak. This is usually due to insufficient light.
If your plants are not getting enough light, they will grow tall and spindly in an attempt to reach the light source.
To avoid this problem, make sure to give your plants plenty of bright light at least 6 hours per day if possible. If you can’t provide this much natural light, consider using grow lights instead.
ii) Poor Drainage
Poor drainage is another common problem when growing spinach indoors. If your soil is staying too wet, the roots may start to rot and the plants will suffer.
To prevent this, make sure you’re using a well-draining soil mix and don’t overwater your plants.
iii) Malnutrition
Finally, a lack of adequate nutrients can also cause problems with your indoor spinach crop.
Spinach needs plenty of nitrogen, phosphorus, and potassium to thrive, so be sure to use a high-quality fertilizer on your plants every few weeks.
By troubleshooting any problems that arise and taking good care of your plants, you should be able to grow a healthy crop of indoor spinach with ease!
Tips for Maximizing Your Results When Growing Spinach Indoors
Here are a few tips for maximizing your results when growing spinach indoors:
- Use a high-quality potting mix: A high-quality potting mix will provide your spinach plants with the nutrients they need to thrive. Be sure to choose a potting mix that is specifically designed for indoor plants.
- Choose the right container: The size and type of container you use can impact the growth of your spinach plants. For best results, choose a deep container that has drainage holes.
- Water regularly: Spinach plants need to be kept moist, but not waterlogged. Water your plants regularly, but allow the soil to dry out slightly between watering sessions.
- Fertilize regularly: A regular fertilization schedule will help to ensure that your spinach plants have the nutrients they need to grow healthy and strong. Choose a fertilizer that is specifically designed for leafy greens and follow the directions on the package for best results.
- Harvest regularly: Regular harvesting will encourage your spinach plants to produce more leaves. When harvesting, be sure to only remove the outermost leaves from each plant so that it can continue to grow and produce more leaves
Conclusion
Growing spinach indoors without seeds is a great way to save money and time while still enjoying the delicious nutrition of this powerhouse green.
With the help of our ultimate guide, you can now easily grow spinach in your own home with minimal effort.
Whether you are trying out hydroponic methods or using soil-less mediums, growing spinach indoors yields benefits that far outweigh any extra cost or energy put into it.
So go ahead and get started on your indoor greens project today!


